My Cart
0
You have no items in your shopping cart.

If you’re a hands-on type of person, there are few more satisfying ways to get your worktops cut to size than just doing them yourself. After all, if you’ve got the tools and you’ve got the enthusiasm, why wouldn’t you? It can be easy to get caught out on a few simple mistakes though, so this week we’re taking a moment to give you some quick hints and tips on preparing to cut your worktops properly.
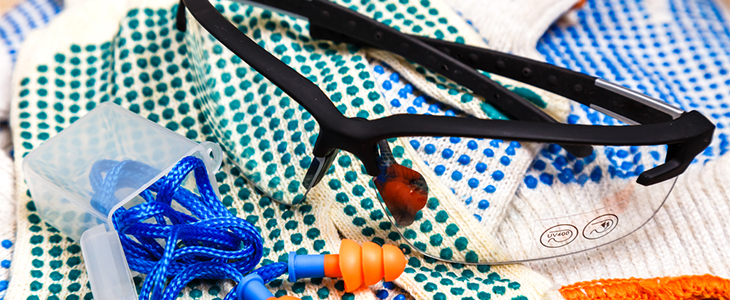
Before we get right into it, we have to quickly cover the important stuff, and that means personal protection equipment (otherwise known as PPE). Where power tools are in play, they have a nasty habit of sending debris flying at potentially dangerous speeds. Don’t risk it – stick some safety goggles over your eyes and make sure you’re wearing a dust mask to protect your throat and lungs too.
There are a range of power tools you can use to do the job, but at Savoy we’d recommend a circular saw, as it’s got the power and the stability you need to make a smooth cut. We’ll use it as an example through this post, but we know that other power tools are available!
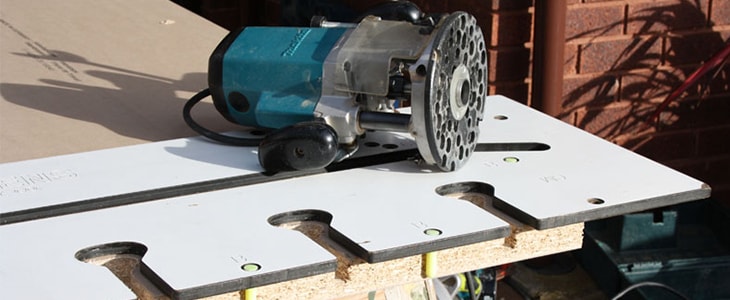
Image Credit: Kitchen worktop Cutting
There are a few steps it’s a good idea to take quickly before getting down to the business of cutting.
There are a couple of reasons for this. Obviously you’ll need a stable surface to work on, but also it’s a good idea to have a mate present to handle the piece you’re sawing off. If you do it alone and just let it drop to the floor as you cut instead, you’re not only risking damage to your laminate kitchen worktops (as the material bends and snaps) but also injury to yourself!
Also – pad your sawhorses with rags or towels before you put the laminate down on it. This will prevent any scratches or damage to your worktop’s finish!
This one’s important! Unless you’re very, very lucky, you won’t get any do-overs when you’re cutting your worktop. If you make a mistake, that’s it; you’ve either got to live with it or buy a replacement worktop. This is why we’d always recommend trying your hand on a few scrap pieces of wood first, just so you’ve got your technique down before it comes to the real thing. It’s technically optional, but you’ll be thankful for it later!
Masking tape is your best friend here. Putting it down on the worktop (then making a line with a marker) can not only help provide a visual guide for cutting, but the tape also helps further protect the laminate from chipping or damage.
This is another anti-chipping measure, and very effective it is too – especially if you’re using a circular saw. The teeth on a saw cut on their way up, so by turning things round the other way you help protect your worktop’s laminate (particularly if your saw gets jammed at any stage).
So, now you’re ready to start cutting! This is tricky enough in itself, and it’s important to give it the attention it deserves, which we’ll do when we publish our blog next week. Watch this space!
In the meantime, if you’re looking to get hold of any worktops or supplies – or you just need a bit of friendly help and advice – you can pop into any one of our DIY stores in Preston, Blackpool or Wigan, where our friendly members of staff will be only too happy to lend a hand!
Don’t forget to follow us on Twitter: @SavoyTimber

